Monday, September 1, 2014

Finally...A Simple Tutorial For Cool Canopies.

Well, I promised a video some time ago, but my attempt at a video was literally as boring as watching paint dry. So I went with the simple solution- a step-by-step tutorial on one of my newest projects.


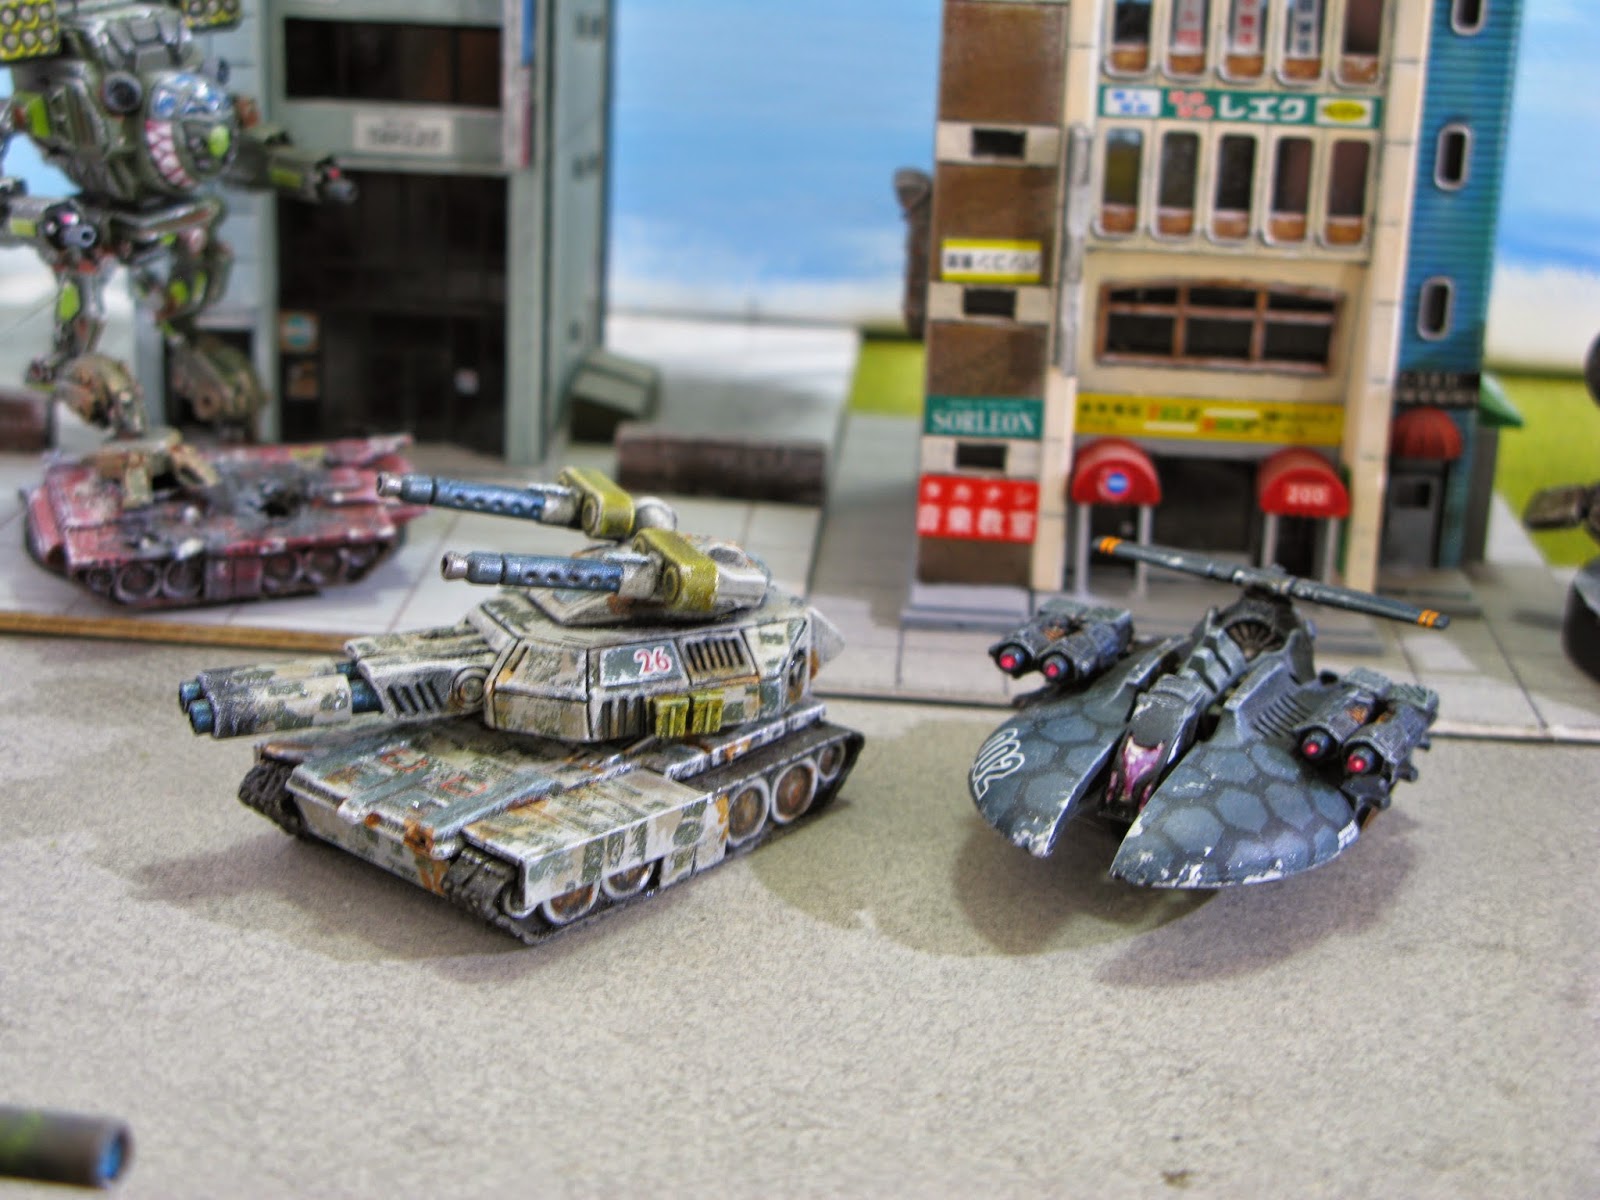
Let me start by showing you an in-progress shot of my newest project: the Starship Troopers dropship in 10mm. I was using an old Micro Machine as my reference.

Now many hours later, here is how I do my canopies. STEP 1: Apply a very dark base color. A very dark shade of your desired color or a simple black will do. I have chosen black here.

STEP 2: I use a white craft paint to lay down some highlights on the cockpit canopy. This starts out with light brush strokes and the thinness of the paint actually helps this process. Then I build up a bit more white up in the corners.

STEP 3: After waiting for the white to completely dry, I decide to go with an aqua ink wash. I do NOT dilute my ink with any water. As you can see, the ink creates a nice, blended effect.

STEP 4: Adding the harsh reflections is a little tricky if you don't have a steady hand or haven't watched a lot of Japanese anime for inspiration. I switch to the Vallejo white because it is a thicker and more pure white color that is required for a really dramatic effect. You can just do some simple corner and edge lining and maybe put a couple of reflection dots in a corner or two, but I am not one for ho-hum! I like to make my canopy glass interesting.

Saturday, August 9, 2014

Even More Mini Madness!

   
A pair of interesting war machines...

The one on the left is a MW:DA Behemoth with a new turret that I sculpted and added spare parts to, and a set of added track guards. The one on the right is a radically altered Necron Destroyer.


Star Wars Titanium Series toys converted for tabletop duty!

Here is an official 1/144 scale F-Toy AAT for comparison. While the T series lack the detail that the F-Toy model has, they are pretty much spot-on when it comes to size.

A converted Action Fleet MTT. Again, the scale is pretty spot-on!

I added a bit of battle damage.

I also had to fill in a gap on the top where I removed a lever.

I removed the droid rack to make it a more versatile heavy transport.


This is a Gundam tank. I am not familiar with the Gundam series so I can't tell you what it was, but I can tell you that it is definitely not in its original condition.
I sculpted a new turret and added some of Paulson's add-on cannons.

The railings on top of the turret are staples!


I added the trio of ball turrets to each side by Dremeling a hole, inserting a bead, and then installing the gun barrels. I tried to make the headlights look like they were lit up, too.

This was just an experiment with battle damage. I wanted a tank that was through Hell and made it back....barely. All of the damage was done with a router attachment on  my trusty Dremel.

The damage doesn't look as bad from this side!

I also experimented with colors by trying to make glowing embers and leaking coolant.

A Gundam gun truck with added stowage and cargo bed rails. Once again, I used staples to make the cargo rails.


This is another heavily modified Front Mission mech. These trading figures have awesome detail and are fully articulate, but I have glued the legs into a static pose, but the arms still move and the torso is capable of turning.

What did I add here? I added the massive gatling cannon to the right arm and a secondary gun to the left arm.

The backpack is scratch-built from spare parts and a pair of .30cal Lego machine guns from Brickmania.

I also added a small tracking radar dome to the top of the hull.


Another heavily modified Front Mission trading figure.

I added the left shoulder cannon and the gatling gun. The ammo drum is a Lego piece with some other detailing parts. I was trying to create the effect of glowing hot barrels after a sustained barrage of lead.


I also added the missile pod.

A pair of MW:DA mods: the Madcat III on the left and the Blackhawk on the right. There are more pics of these towards the bottom of this page where I can better show and tell what I have done to them, although those of you familiar with the original minis will be able to pick out some new features.

Another Front Mission mecha. The turrets used to be Gundam shoulders.

I added the massive rail gun to the left arm and quad lasers tucked under each arm.

The mech came with a really boring mace so I sculpted an axe head for it. I also added a small gun to the forearm.


An interesting feature of the base- Those ferns used to be seashells.

This is another vehicle from the Gundam universe that I converted for my own use. The thing turned out to be a LOT bigger than I thought it would be....Heavy gunship it is!

The dorsal wings used to be tail wings, but I broke the attachments during assembly. The back was the only logical place for me to relocate them. I actually like them there!

You can just see the tail gun turret I added.


You can see my additions here. A pair of missile launchers and autocannons. The big guns were part of the original model.

The wings sweep!

Let's mix up universes, shall we?


I wanted a bit more bite for my Cylon Raider. This one got a tail gun turret.

It also got an extra set of laser cannons.

Just a simple A-Wing.

The pilot has affectionately named his bird the "Rebel Princess".


More mixings...An X-Wing and a mkIV Viper.

I was not happy with the stock laser cannons so I upgraded the gun barrels to make them look a bit more lethal.


More firepower stowed underneath!

More Star Wars.....Except I created a fleet buster TIE Bomber!


This B-Wing is my third one. I decided to leave this one stock and even kept the colors pretty close to original.


Here is the Madcat III again. Now you can see where I reposed the right leg, beefed up the gun barrels on the arm pods, and altered the missile launchers to something a bit more fitting for a smaller mech.


A better view of the Blackhawk. I sculpted new gun pods for the arms and swapped out the old hands for smaller ones.

I sculpted new improved feet. The old feet were just silly.

I also re-did the knees to make them look functional.
PHEWWW! Well that was a long post! I do hope you enjoyed the show. I am sorry to have kept you waiting again.