|
| I just recently discovered the line of Vallejo paints a couple of years ago. I am absolutely, 100% in love with these paints! A couple of the colors have some consistency issues- yellow and orange, to be exact- but for the most part these are the most painter-friendly acrylics I have ever used. |
 |
| If Vallejo makes such fantastic paints, then the inks must be good, right? Correct! The inks are very vibrant and I only thin them with water to tone down the coverage. I use the inks primarily as a stain for exhaust vents, tank treads, leg & arm joints, etc. Occasionally I use the inks for my cockpit jeweling effects. The washes, or shades as they are called, are a thinner version of the ink. They immediately flow into the recesses of the surface and hardly affect the surface color. I use these a lot for redefining panel lines and weathering. I use the shades straight outta the bottle- no thinning or strange home combinations are required. |
 |
| These Secret Weapon washes are very similar to the Vallejo shades, only they come in a wider assortment of colors. They have a slight stain effect, which is useful for when I want something just a few shades off of the base color. Excellent consistency and flow- no thinning required. |
 |
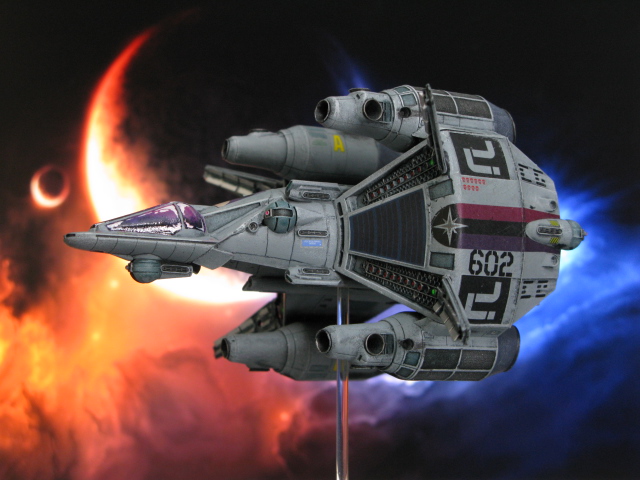
| I take great pride in the fact that people always ask if that is a decal or did I paint it. Well, this is how I do it. I paint a bit of the medium on the surface where the decal will go. After carefully sliding the decal in place, I use a tiny sponge applicator to press the decal down into the medium and push out the air bubbles. After that dries, I paint on a coat of the matt varnish over the area of the decal. Of course, after the entire mini is done, I give it a shot of Krylon matte spray sealant. |
 |
| As cheap as these paints are, they are actually good and useful. The white is what I use to lightly highlight all the raised surfaces with. The other colors are good for a rough base coat and painting scenery. They don't cover nearly as well as the Vallejos do, but since they are cheap, it is an acceptable trade-off. |
 |
| Liquitex ix primarily a canvas-type artist acrylic, but it has some uses on my minis, mostly small detailing uses. These colors are not consistent enough for painting large areas. |
 |
| FW and Liquitex make some excellent inks, but again, these were not designed with miniature painting in mind. I frequently have to thin them with water to get them to flow a bit better. The red oxide you see in the picture is the ink I use for my rusty effects. The sepia ink I use for tank treads and tires. The other colors I have are used whenever I feel that is the right ink to use....I can't really explain how I know. It is a feeling, like a ripple in the Force. |
 |
| Well, put them all together and you get a cluttered desktop. A cluttered desk is a sign of genius...right? |